OVERVIEW
With the Auto Configuration function, Loxone Config handles the basic programming of essential functions such as shading, lighting, climate, security and more. It also automatically generates the visualization for your smartphone or tablet. In less than a minute, Auto Config creates a foundational setup that fully complies with our standards and recommendations for building and home automation.
PREPARATION FOR AUTO CONFIG
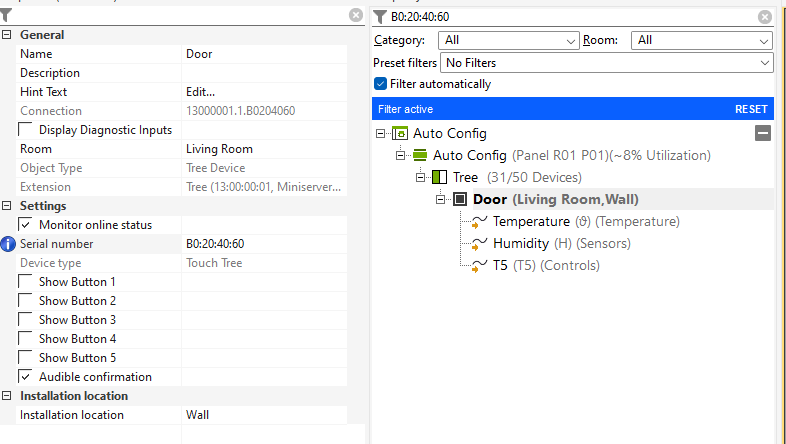
To ensure the Auto Configuration tool functions reliably, you must assign names to all peripherals and correctly allocate them to the appropriate rooms and categories. This applies not only to Tree and Air components but also to digital and analog inputs and outputs. To customize these settings, select the relevant peripheral and navigate to the General settings tab. There, you will find the Room and Category fields.
Examples:
Setting the room for Touch switches: Notice that there is no category field. This is because Auto Config considers all possible use cases and assigns the appropriate configuration automatically
Settings for digital/analog outputs: Room & Category are mandatory to fill in so that Auto Config knows how to configure it. For example Shading.

USING AUTO CONFIG
Once the basic setup is complete, you’ve completed 80% of the work for Auto Config. You can now navigate to the My Projects tab at the top and click the Auto Configuration button.

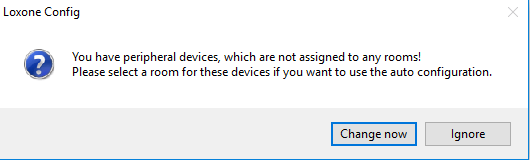
If any of your Loxone devices are missing room or category information, you will be notified. You can either choose to ignore this or click ‘Change now’ to cycle through each device with missing details
Basic Functions
Once you have addressed any missing information, you will presented with Basic Functions. This dialogue will allow you to pick which rooms get auto configured, and which functionality you want to be configured for said room. If Auto Config cannot find a suitable item for that feature, it will simply not provide a tick box, but a dash instead.

Lighting: This function will automatically create a Lighting Controller block, lighting moods and connect the relevant inputs and outputs. (E.g. Touch, Smart Actuator)
Shading: This function will automatically create an Automatic Shading block and link it with the relevant device (if applicable).
Climate: This function will automatically create an Intelligent Room Controller block for that room and attach any relevant devices. (E.g. Valve Actuator, Shading block)
Music: This function will automatically create a Audio Player block for that room and connect the relevant devices. (E.g. Touch)
Alarm Clock: This function will automatically configure an Alarm Clock block and connect it to any relevant Audio Player zones and Lighting Controllers.
Leaving Room: This function will automatically a double-click shutdown for that room if there is a relevant Lighting Controller in the same room. (i.e; Turns lights off, stops music playback, Closes blinds)
Peripherals: This is a generic option which configure other devices such as Car Chargers, Media Controllers, etc.
Presence: This function will automatically create a Presence block and connects it to any relevant Lighting Controllers, Audio Players & Intelligent Room Controllers, if any are available in the room.
Comfort Functions
After selecting the features you want Auto Config to use, you can proceed to the Comfort Functions dialog. This allows you to further customize the functionality for automatic configuration. These are advanced features that enhance the base functionality of the Loxone System. For more information on each function, simply hover over the blue ‘i’.”

Finally, you can then hit “Configure” and you will see Auto Configure work away in the background.
POST AUTO CONFIG
A brief window will pop up informing you of the creation of some “To-Do’s” that you will need to address in order to finalise your configuration.

The final step is to go through the ‘To-Do’s‘ to complete any manual tasks that Auto Config cannot perform. For example, if you are using relay blind control, you will need to manually connect the two relays for the up and down motion of the blinds, as Auto Config cannot distinguish between the two. Below, you’ll find an overview on where to locate the To-Do’s.

Auto Config simplifies much of the programming process. Once Auto Config is complete, you will need to adjust parameters and fine-tune a few details in the program.
Download here the Auto Config Checklist.