Insect control with smart LED light
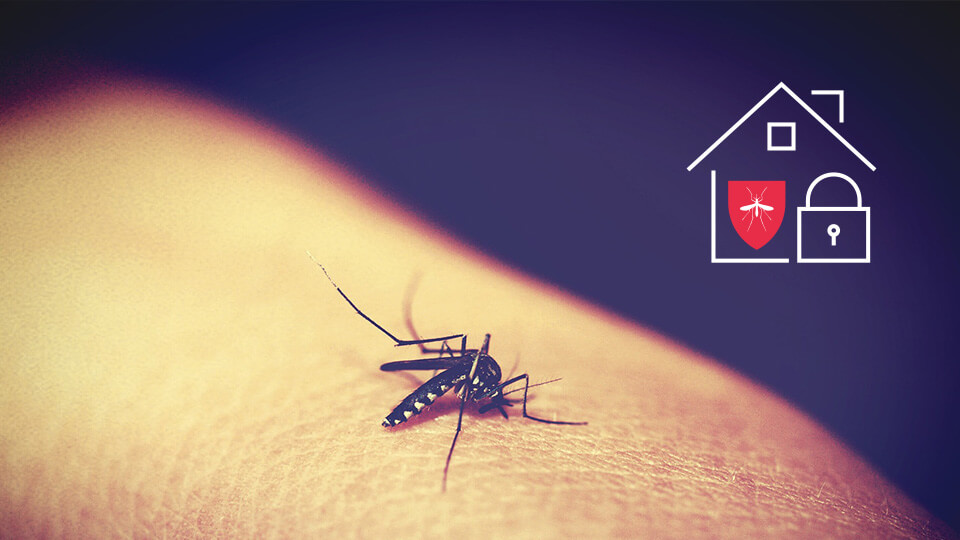
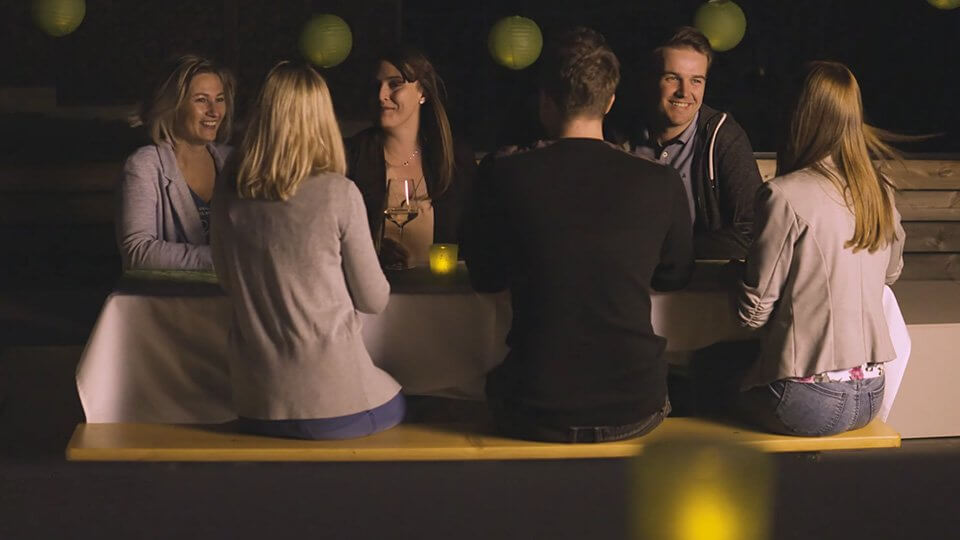
Picture this: a warm summer night in your backyard with a solid group of friends, a cool drink in your hand and the glow from a campfire creating the perfect atmosphere along with your favorite playlist. It’s moments like these that make you forget about everything else – like the patio door left open… open to all the bugs that come out at night. Time for some insect control with smart LED lights.
Repel bugs with the right wavelength of light
You might already know that insects are attracted to light, but do you know which wavelengths are most inviting to these little pests?
Sure, you can use all types of insect repellents and screens, but why not finally give insects the red light? Literally.
In a study from Light Forum in Germany, it was found that insects were least attracted to red light. In the experiment, several traps were equipped with RGB LED Strips to see which color light (red, green, blue) would trap the most bugs.
The results? 55.4% of trapped insects were lured in by blue light, 38.1% by green light and 6.5% by red light.
So what does this mean? Light with a shorter wavelength, blue, could attract more bugs than light with longer wavelength, red. For your next night outside, have red light included in your summer night lighting mood instead of blue or, basically, any other color.
Comparing wavelengths
Violet: 380-420
Blue: 420-490
Green: 490-575
Yellow 575-585
Orange: 585-650
Red: 650-750
Our tip:
Insect Control Mode
Create an “Insect Control” Mode so you can easily activate it on a buggy summer night. Set the mode so that when a patio door is opened, your LED lighting will turn red.

Steps for Loxone Partners in Config
Step 1
Create a new operating mode
In Loxone Config, create a new operating mode called “Insect Control”. Insert a switch module of the same name so that later you can enable and disable the mode in the Loxone visualization.
Step 2
Create a lighting mood
By double-clicking on the lighting control, you can create a new lighting mood and give it a name such as “Insect Control”. You can easily define the red lighting in the app.
The Automatic Designer can be used to automate the activation of the switch module even further. For example, the switch and its anti-insect function can be scheduled to activate thirty minutes before dusk.
Step 3
Coordinate light with open doors
As soon as the switch is active, the mode can be set to activate its red lighting as soon as a door is left open to the yard.
To do this, connect output “Q” of the switch module to an “AND” module, as the mode should be activated only when the chosen door is left open. Since the Door & Window Contact displays a “1” in the closed state and a “0” in the open state, the input on the “AND” module must be made ineffective. The output “Q” of the “AND” module is now connected to the mode.
To trigger an additional pulse at the motion detector input “MV” each time the mode “Insect Protection” is activated, a “Push-Button Switch” module is required. Connect the mode to the “O” input of the push-button and the “Q” on output to the “MV” input of the lighting control module.
Step 4
Edit lighting control
Now all that remains is defining the behavior during movement and the active mode. Start by double-clicking on the “Light Control” block. Then select the previously created “Insect Control” operating mode and assign it to the “Insect Control” lighting mood. Finally, select the “Change To” action from the dropdown menu.
Get started with “Insect Control”
The smart home is now ready for buggy summer nights
This simple tutorial is just one of the many ways that Loxone can improve comfort in the home. In just a few minutes, you can help protect customers from annoying insects. Use this tutorial to apply operating modes in conjunction with lighting moods to other countless smart functions in the Real Smart Home.
– Special Tip –

Download free smart home inspiration
Interested in even more possibilities from Loxone? Our Welcome Home Magazine will give you creative ideas, tips and more.
Let's talk about your project!
We are happy to help you plan your next project and show you the cost cutting and guest experience enhancing possibilities available with Loxone. Just leave us your contact details and we will be happy to get back to you.
The Loxone Advantage

No charge, no obligation
Our consultations are free of charge and there is no obligation to do anything after the chat.

Consult directly with the manufacturer
Talk to one of our Loxone Experts and get advice directly from the manufacturer.

Call us from anywhere at your convenience
Our consultations are conducted by phone, so you don't have to carve out a lot of time.