The benefits of the Loxone Digital Experience Tour
Tired of dealing with sales pitches all the time? Imagine how much time and effort you could save if someone did this work for you.
We can offer you exactly that! The Loxone Digital Experience Tour is your free interactive sales representative that will inspire and convince your customers. And the best part is that you will stand out from your competition while saving at least two hours of time per sales call and will significantly increase your sales rate.
So why wait? Get the free Digital Experience Tour today and see how Loxone practically sells itself.
NEW: Digital Experience Tour Package
In order to use the full potential of this innovative sales tool and to be able to offer your customers a maximum user experience, we recommend the brand new Digital Experience Tour Package.
The Digital Experience Tour Package is now available for Loxone partners in the shop.
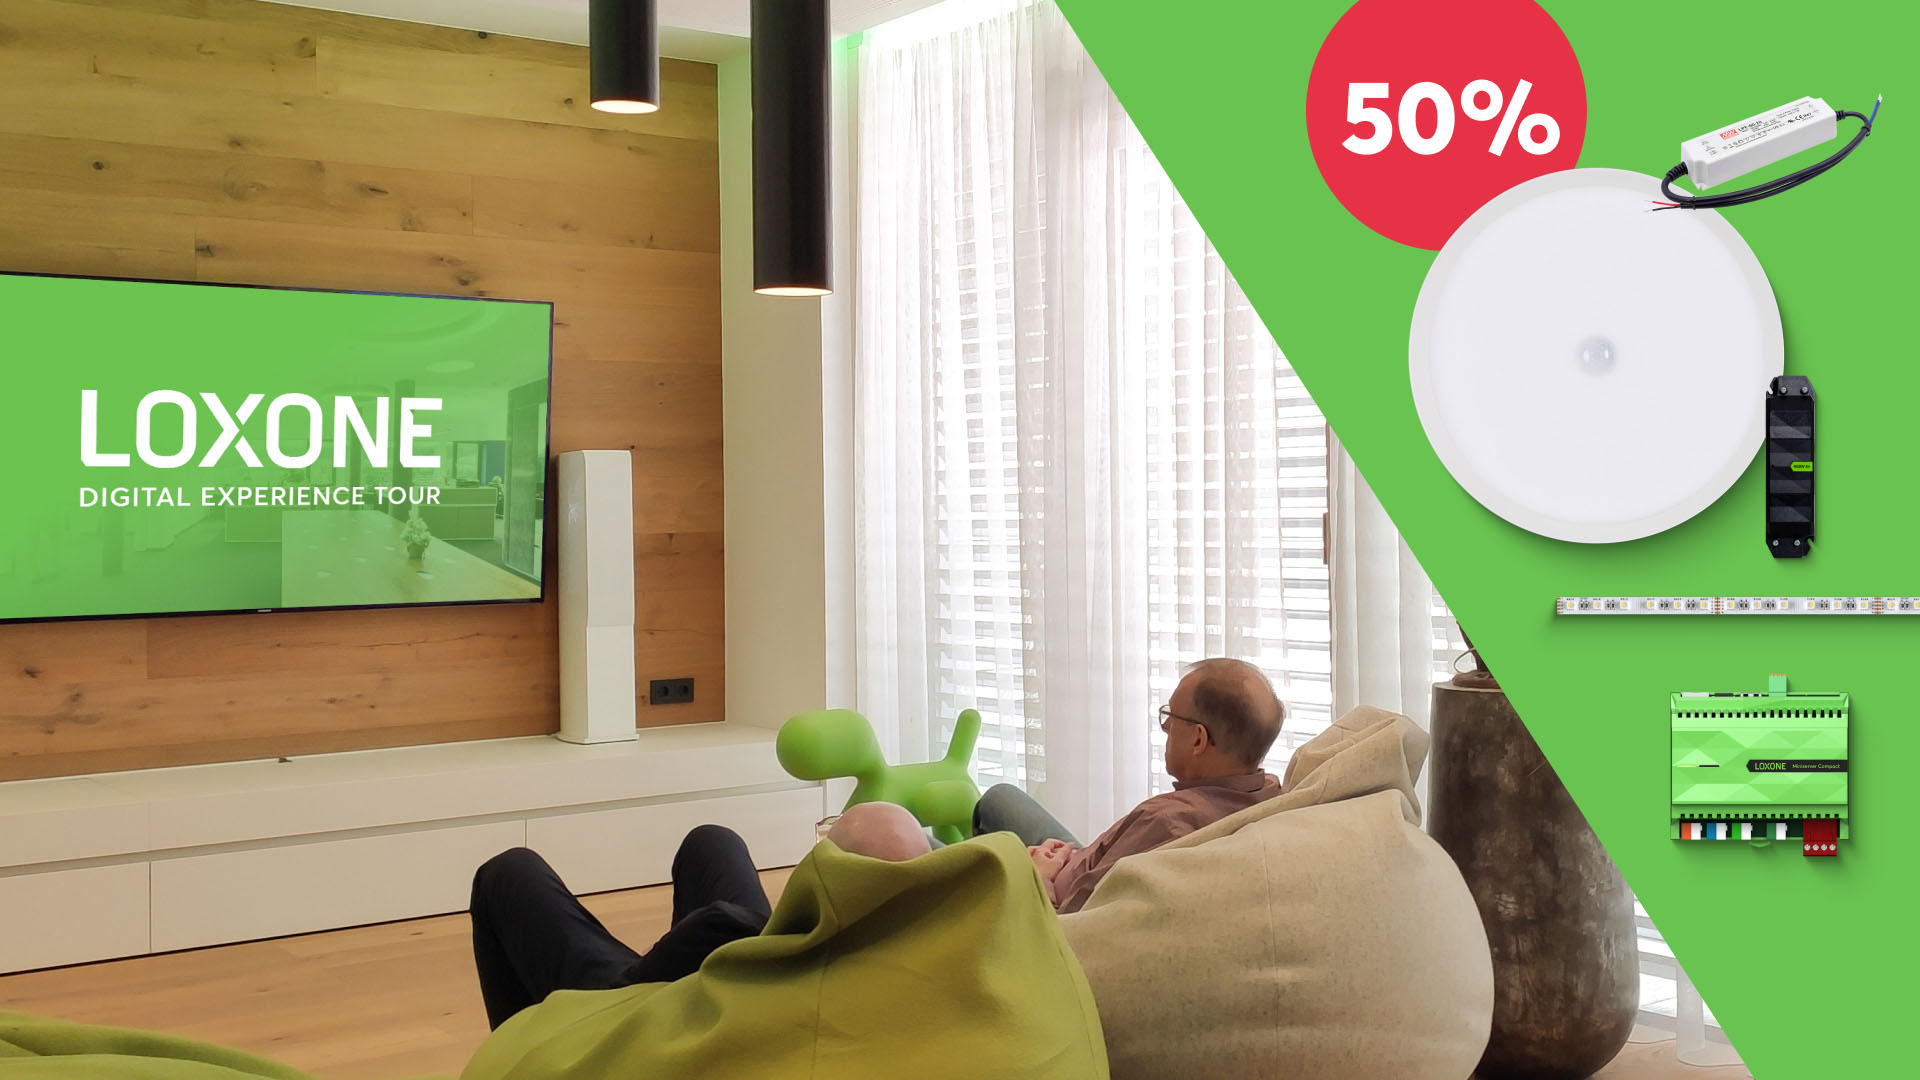
What is the Loxone Digital Experience Tour?
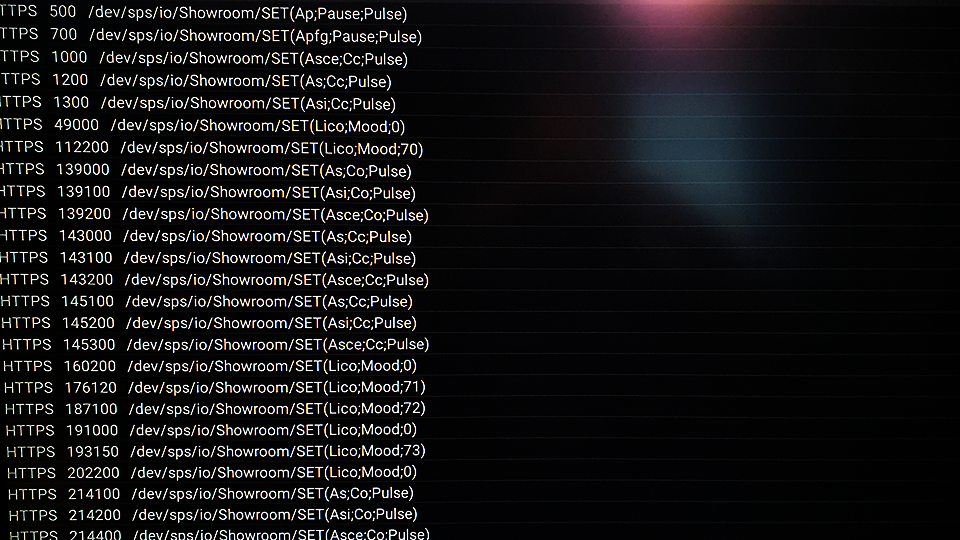
The customers watch a video produced by Loxone, while various Loxone features are started directly in your showroom at defined times of the video. For example, lights or shades switch on and off automatically when their functions are explained in the video. This way, those interested in technology can experience Loxone even more intensively and up close.
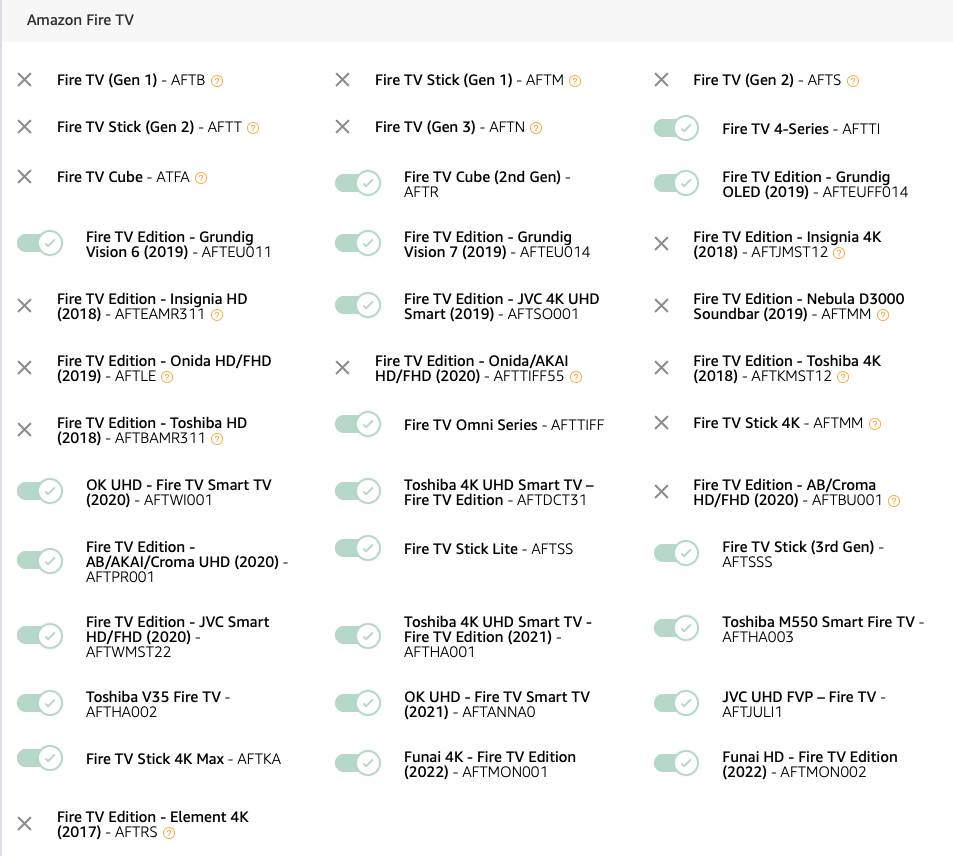
The experience is realized by the free Loxone Digital Experience Tour App and a Fire TV Stick (provided by you) on which the app is installed (supported devices). With the Loxone Config you can connect the App to the Loxone installation with just a few clicks.
Big effect in a small space
For our partners, the Digital Experience Tour is the new and cost-effective alternative or complement to the showroom. Here you can easily and inexpensively showcase many Loxone functions and products. All a partner needs is a presentation space, the free Loxone Digital Experience Tour App and a selection of recommended products to make the customer experience even more intense.
Recommended products
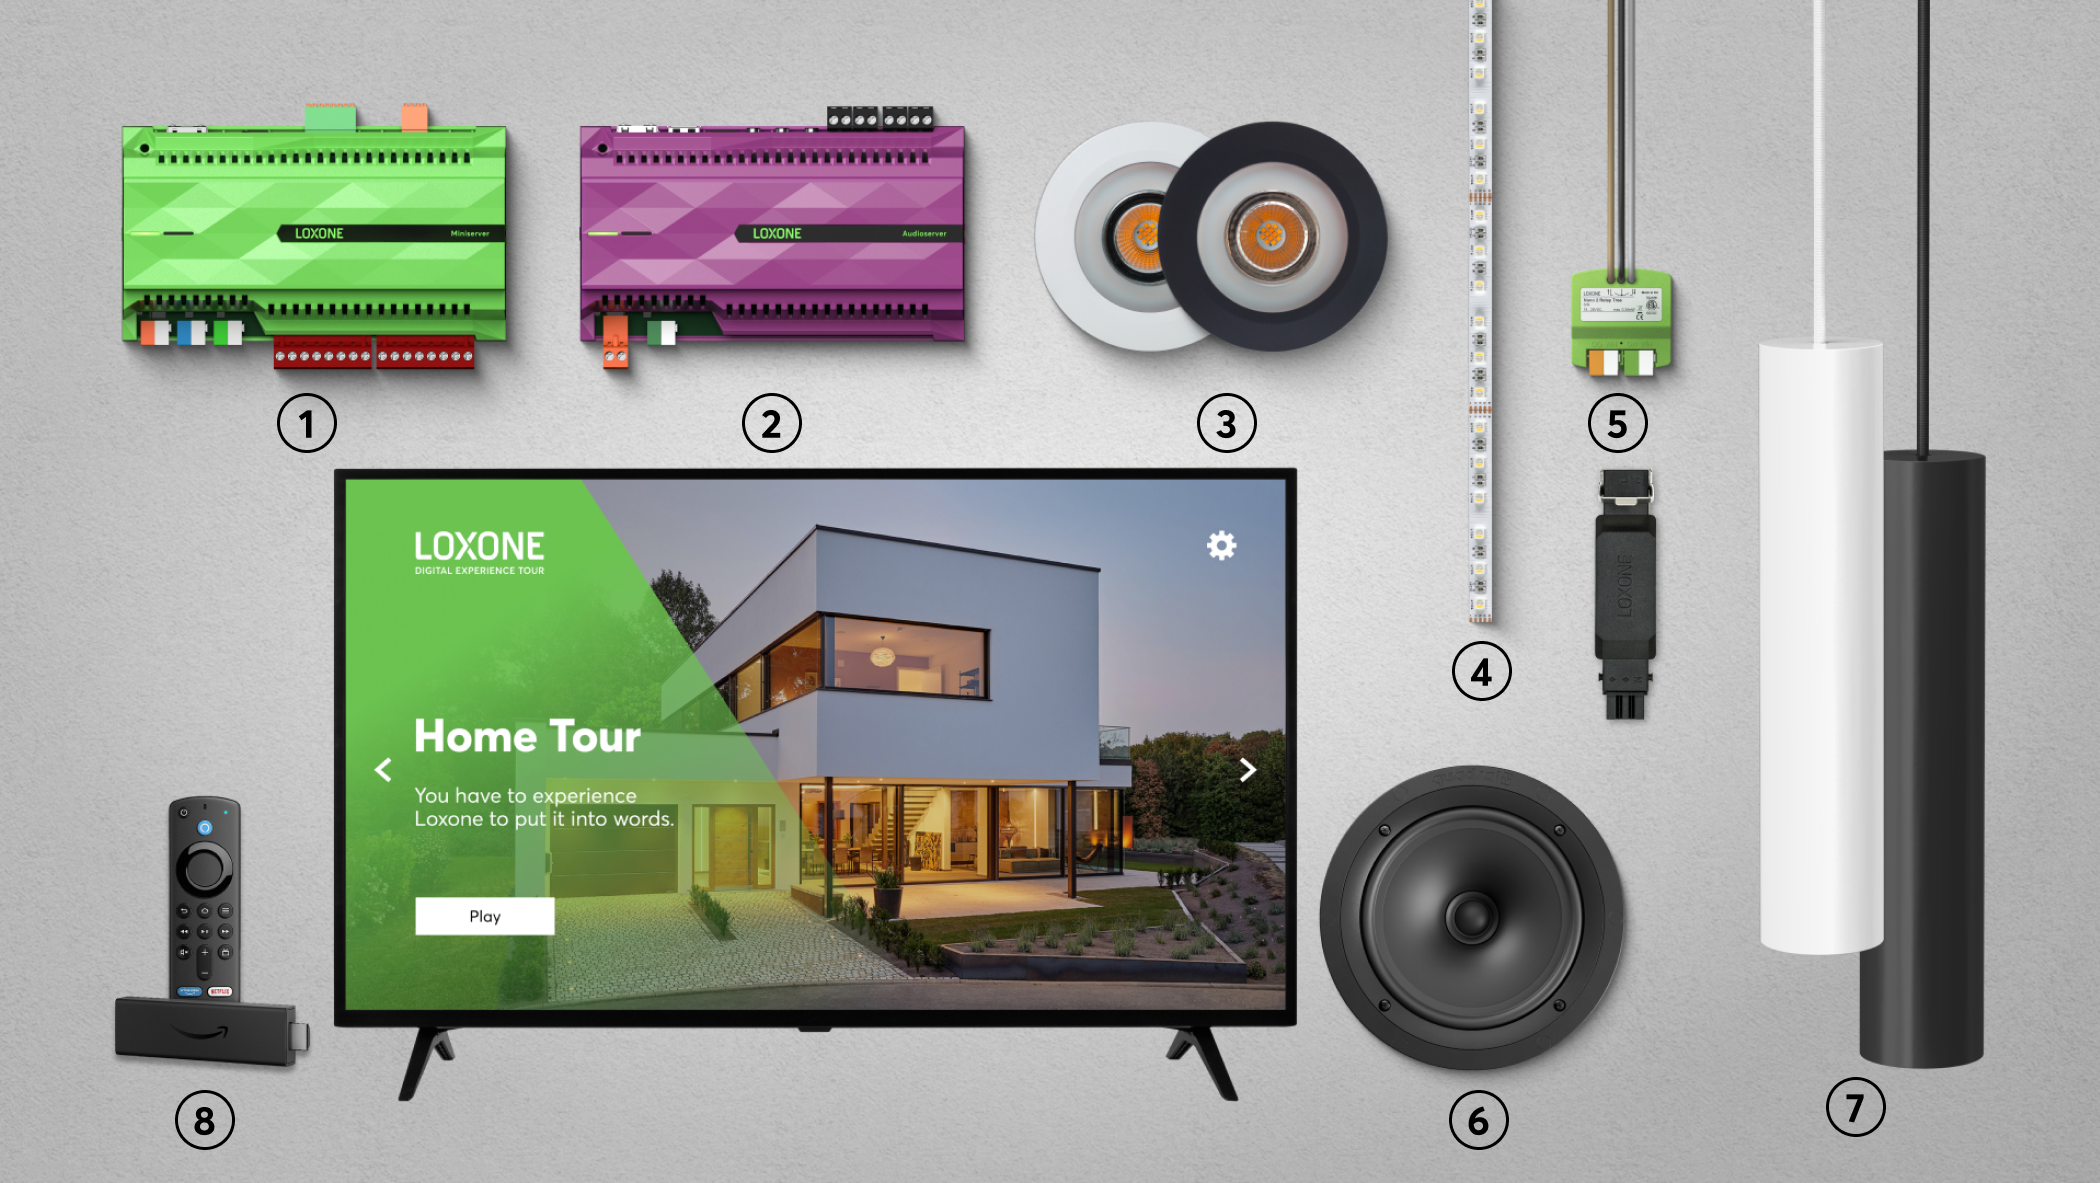
The Digital Experience Tour works on any TV via the free Digital Experience Tour app and can also only be used for video presentations. For maximum effect, however, we recommend the following setup of products:
| Loxone Miniserver | |
|
Loxone Audioserver + Speaker Various sound elements in the video, such as bells or alarms, are played back via the Audioserver. The main sound of the video can be output through the TV. In order to use the full range of functions of the Digital Experience Tour, please install the current Public Beta 13.2.12.14 of the Miniserver and the Audioserver 2.7.12.14. |
|
|
Lighting with 3 light circuits The video presents different light scenes for different needs. For this we recommend different light circuits, e.g. 3 LED spots RGBW, 2 LED Pendulum Slim, 1x RGBW LED strip |
|
|
Shading control for example Shading Actuator Air or Nano 2 Relay Tree |
|
|
Fire TV device We recommend an Amazon Fire TV Stick 4k Max. Supported devices: Fire TV Cube (2nd Gen), Fire TV 4-Series, Fire TV Stick Lite, Fire TV Stick (3rd Gen), Fire TV Stick 4K Max |
Setup in Loxone Config
Setup in Loxone Config
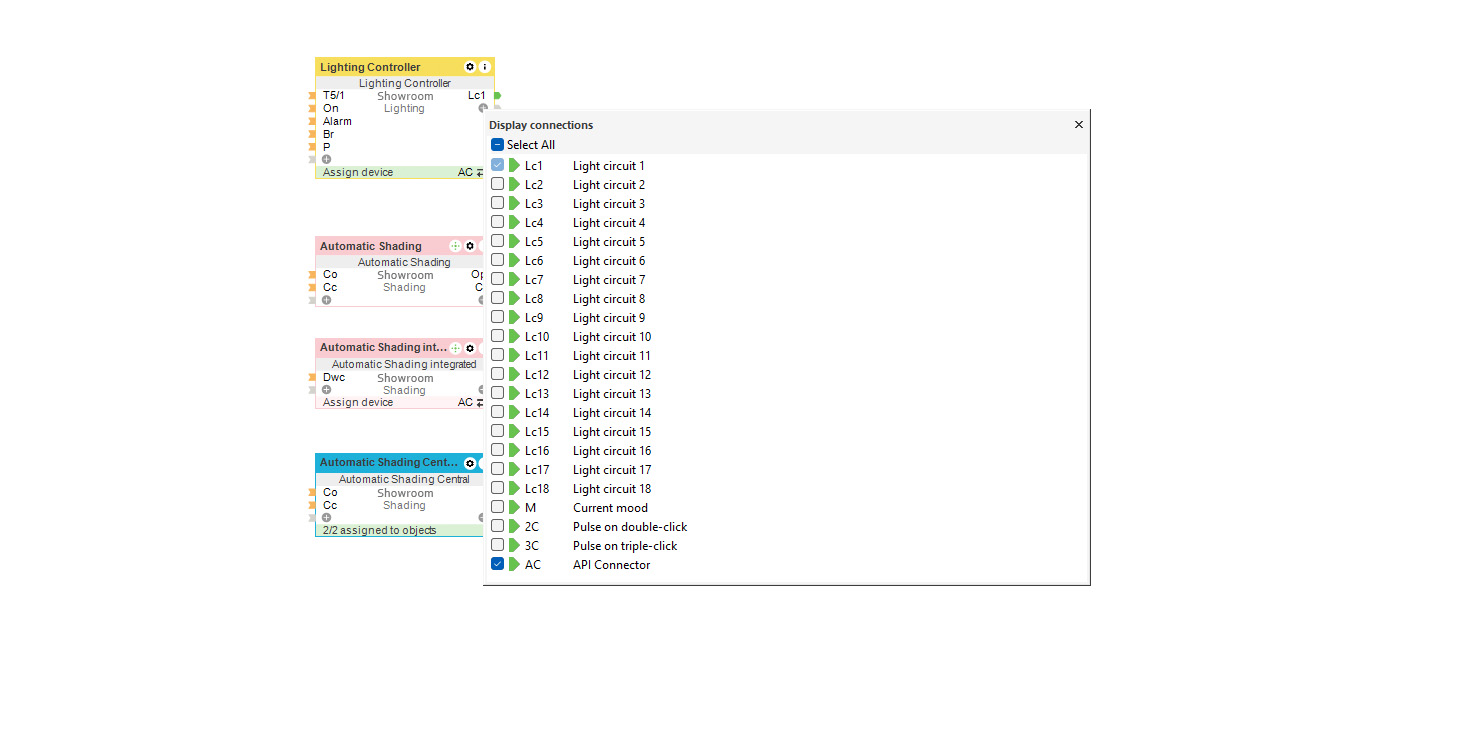
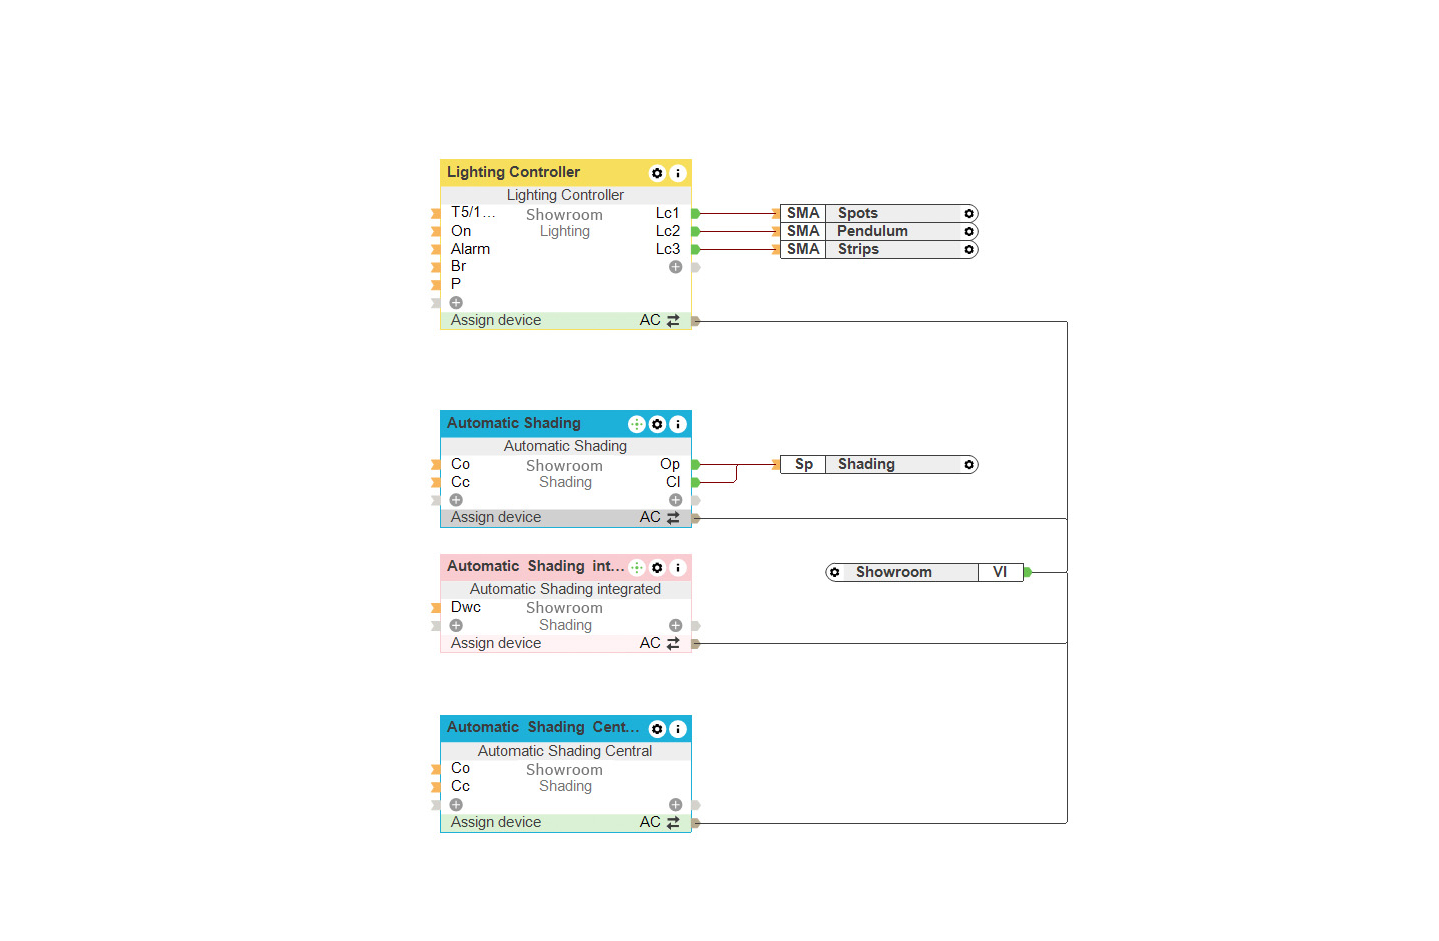
The Digital Experience Tour uses the following FunctionBlocks, which are connected to the API Connector:
- Lighting
- Shading
- Audio
In order to use the full range of functions of the Digital Experience Tour, please install a Config version higher than 13.2.12.14 and an Audioserver version higher than 2.7.12.14.
Virtual Text Input
We transfer the signal ourselves with a virtual text input that we create in the Config, then connect to the API connector of the FunctionBlocks. We assign name for the virtual text entry according the room it is used for, e.g. “Showroom”.
*Tip:* Make sure your virtual text inbox has an absolutely unique name and no other FunctionBlock or room favorite you are using has the same name.
Now simply drag the virtual text input to any other FunctionBlock for which you have products installed. Finished! The virtual text input receives the corresponding command automatically from the Loxone Digital Experience Tour App and forwards it to the corresponding FunctionBlocks in the Config.
*Note:* The virtual text input appears as an “input” used on the output side of the FunctionBlock.
Lighting Moods for the Digital Experience Tour
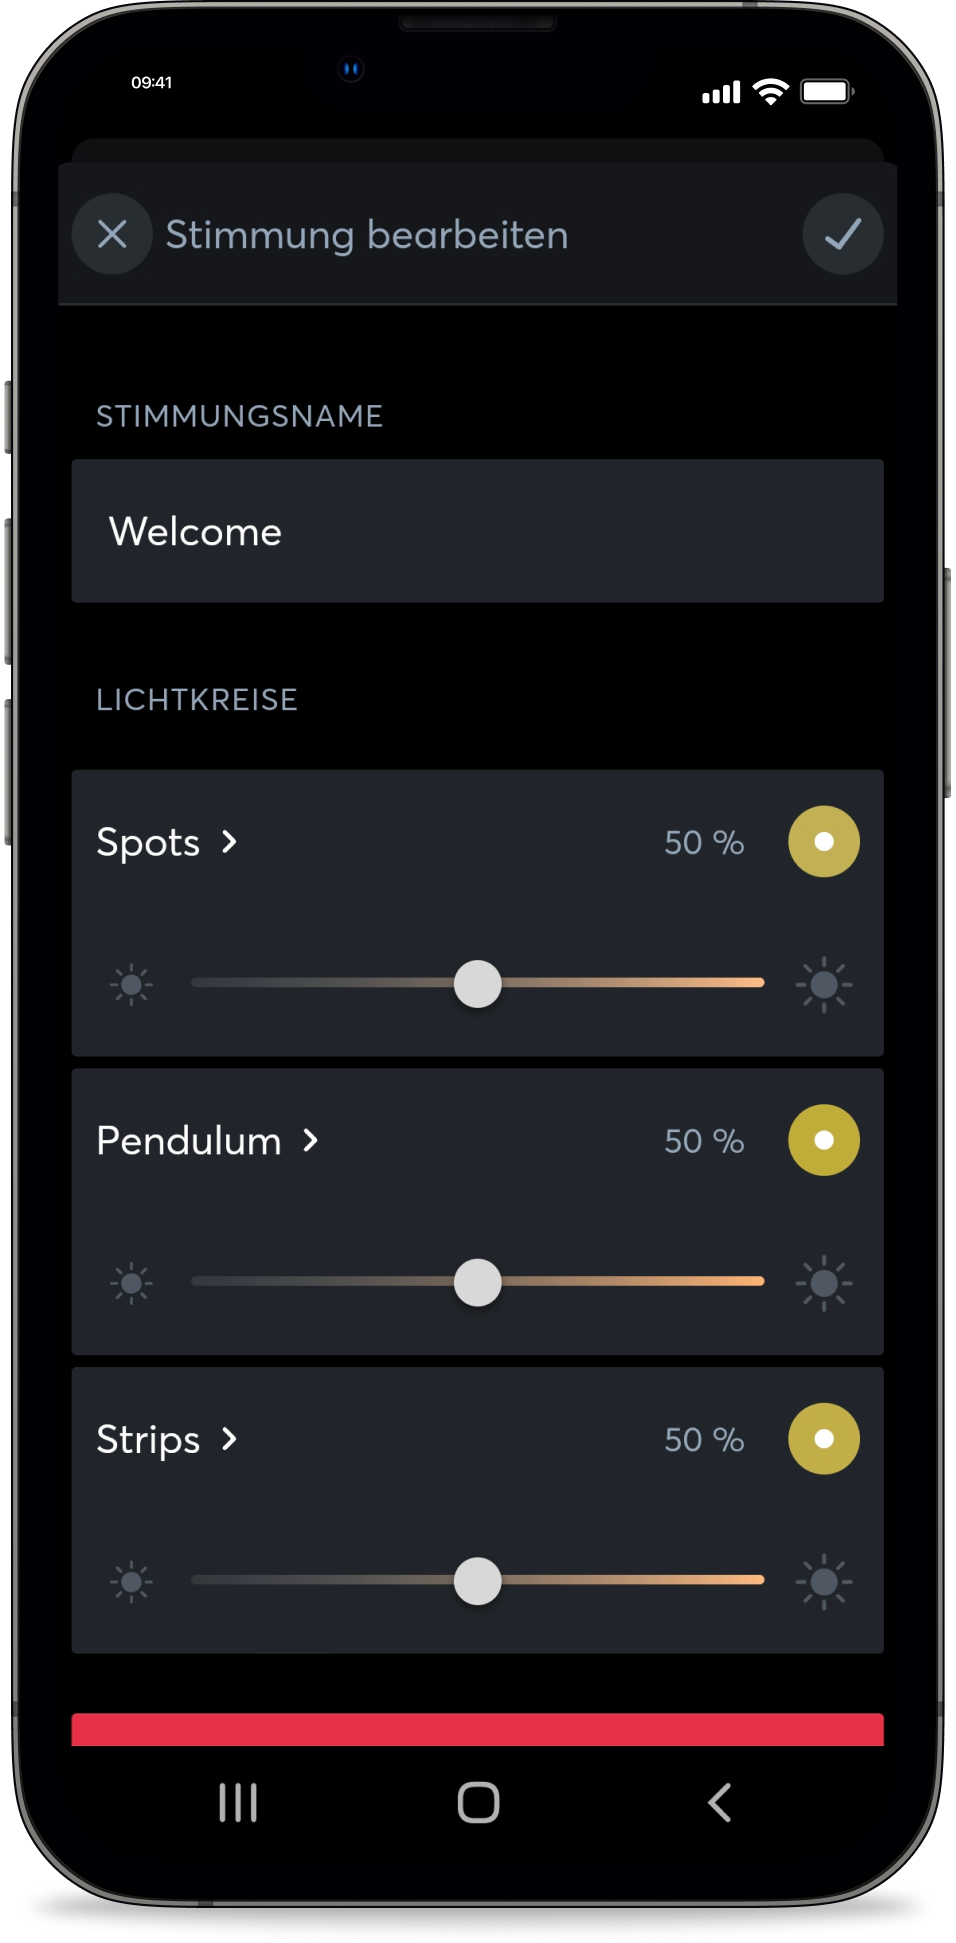
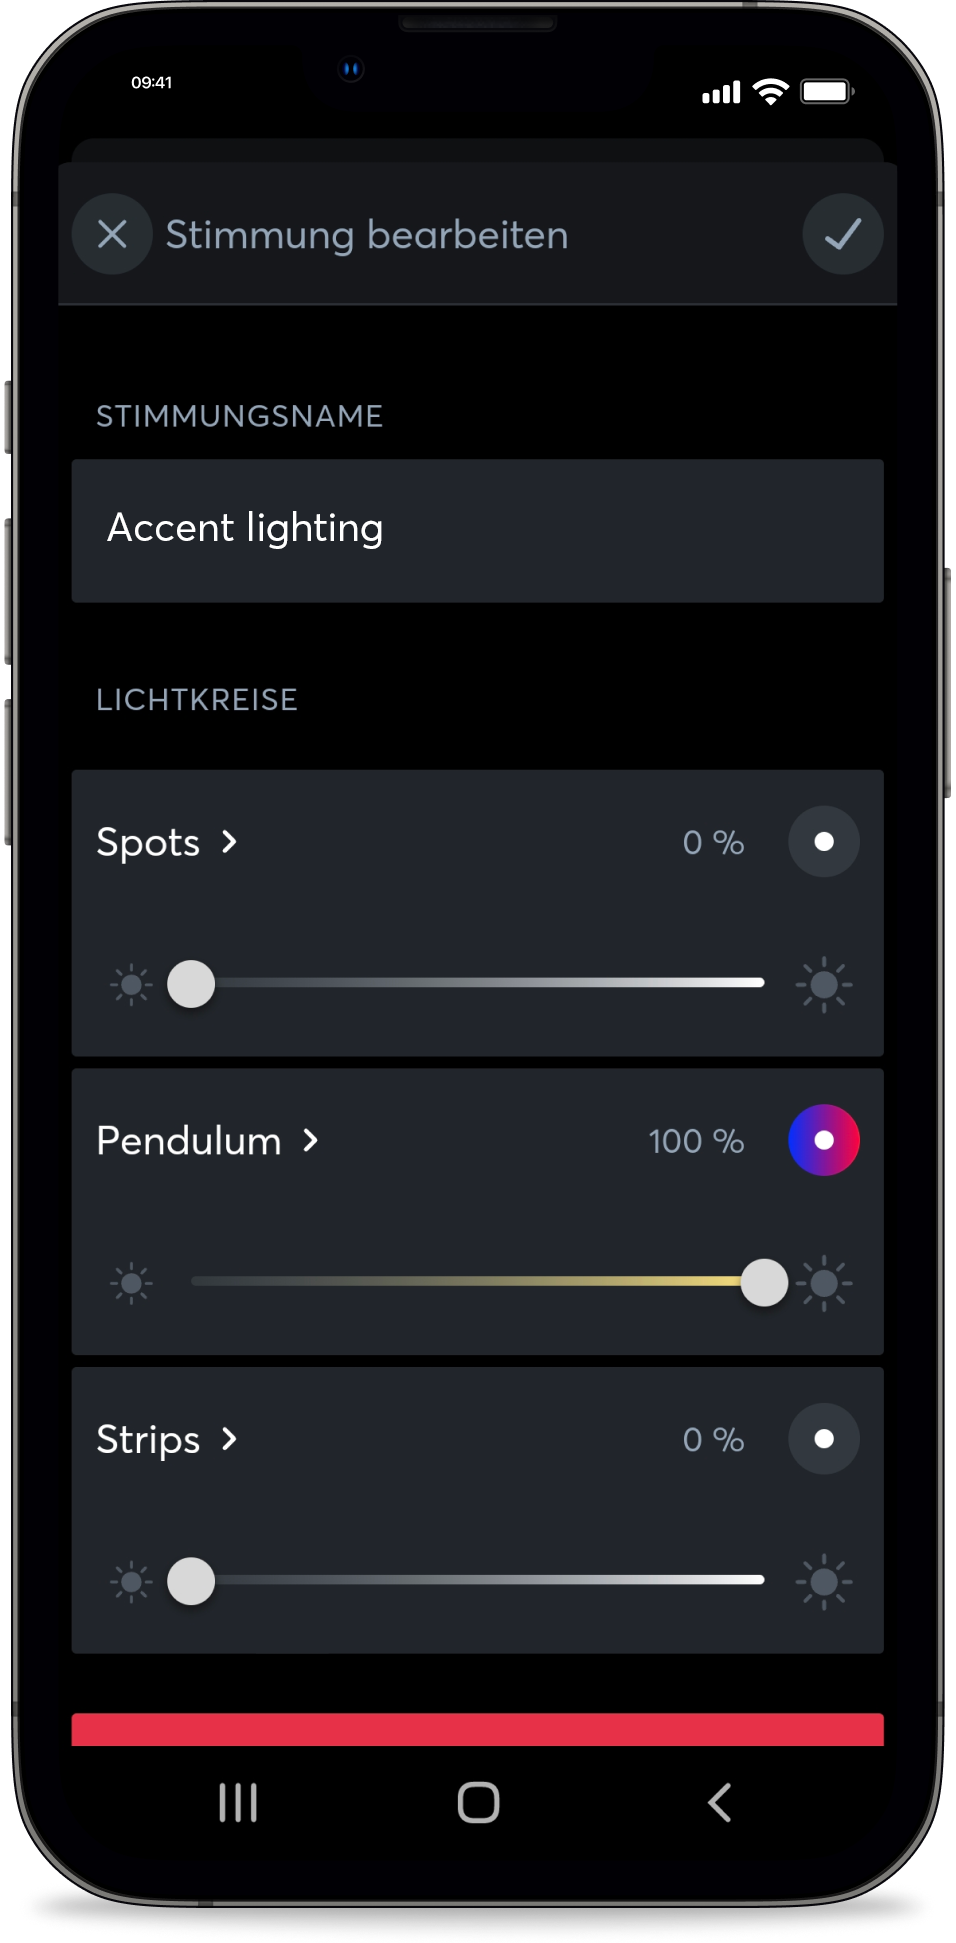
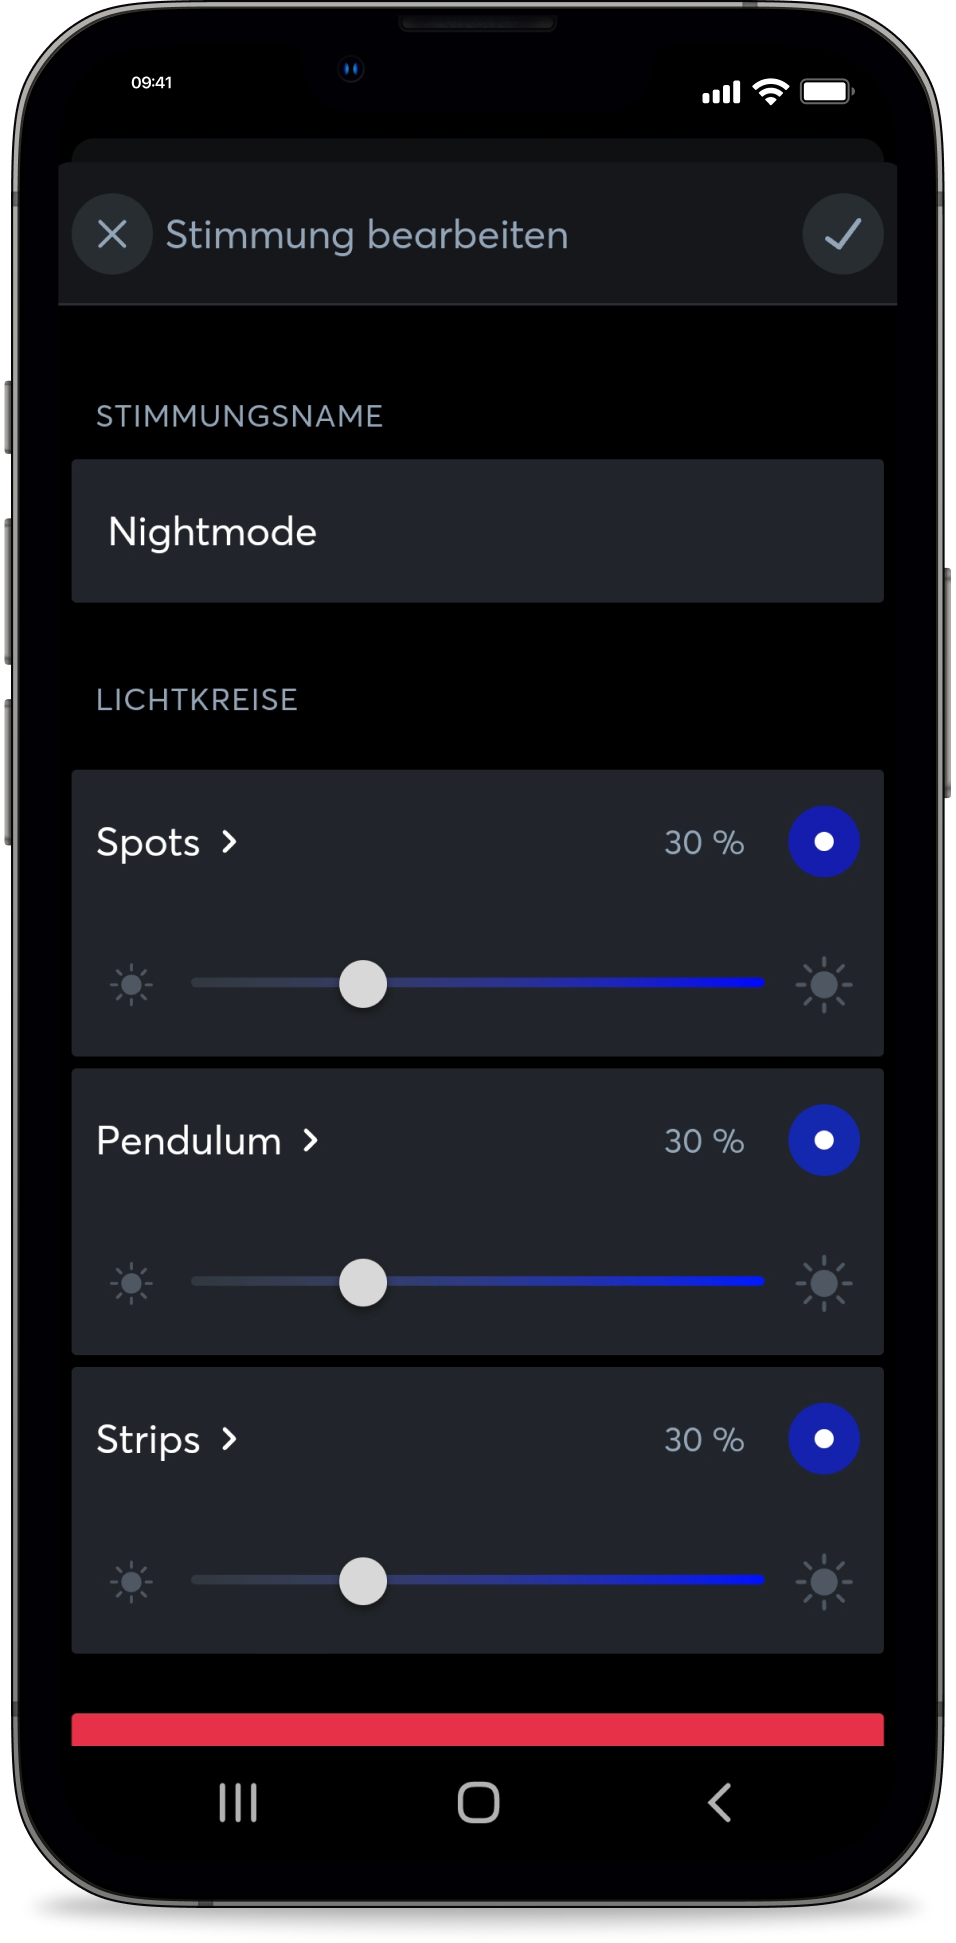
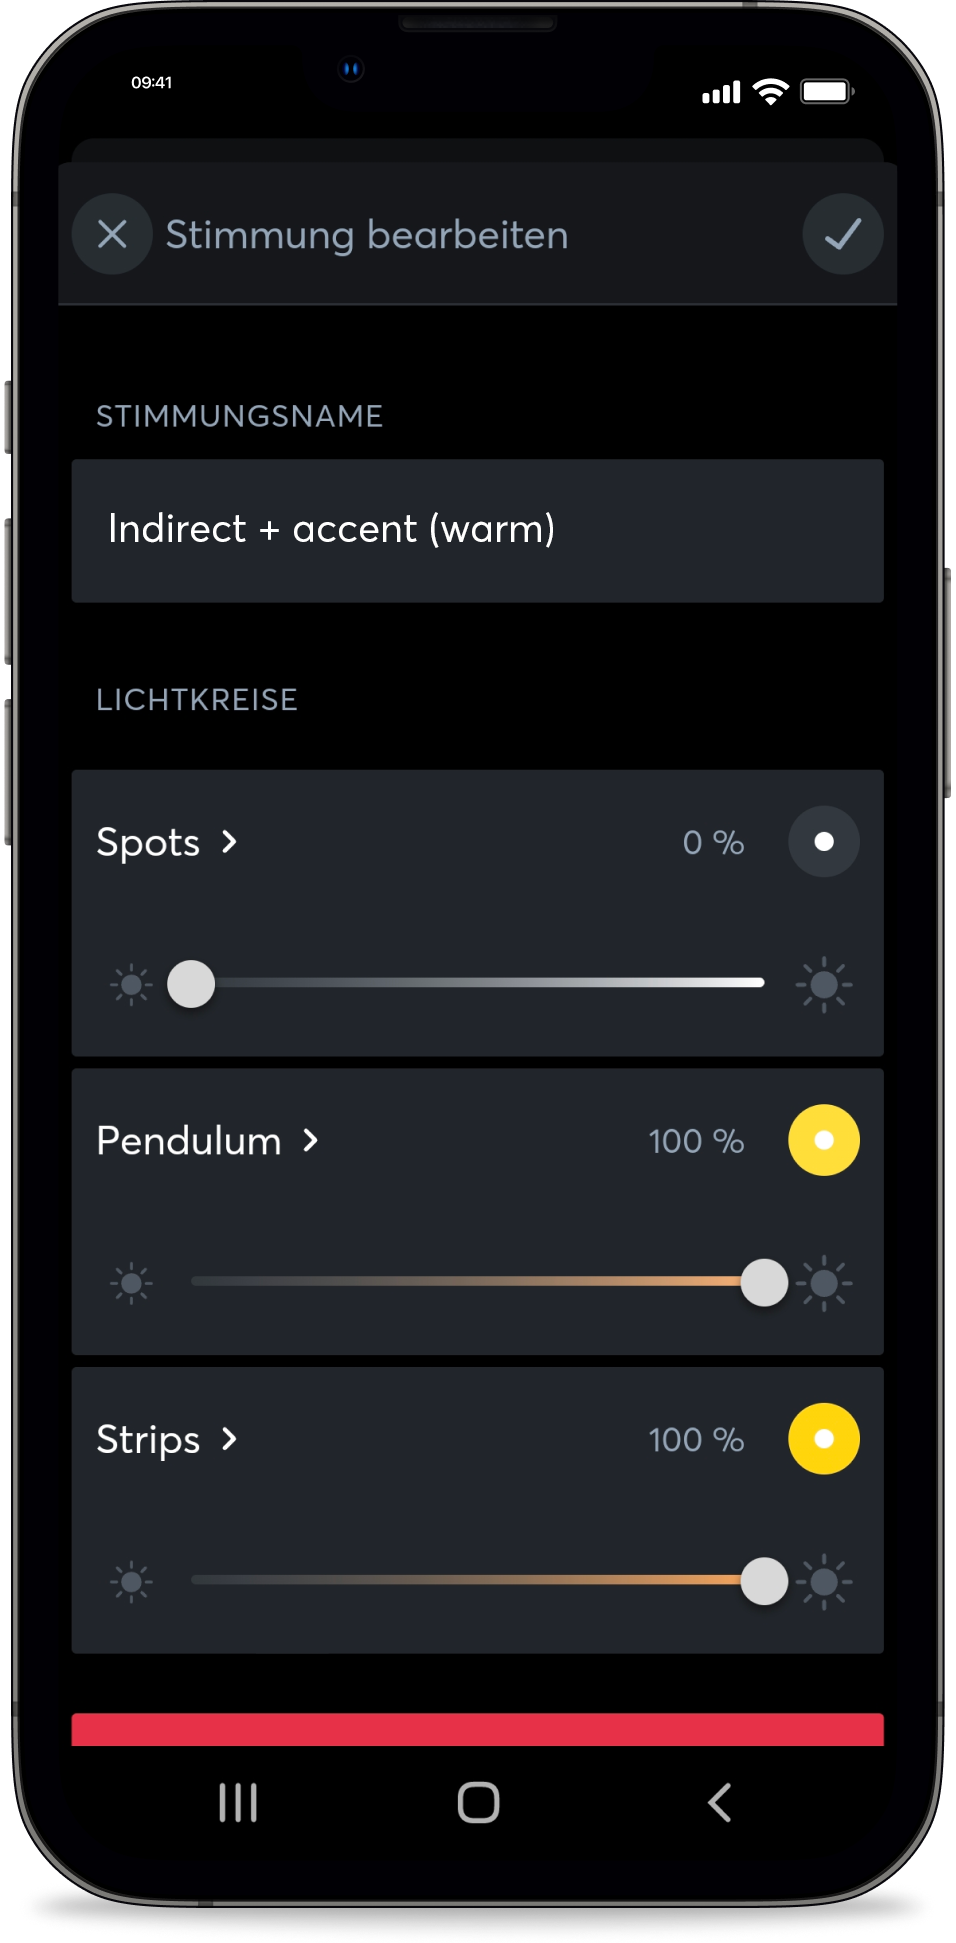
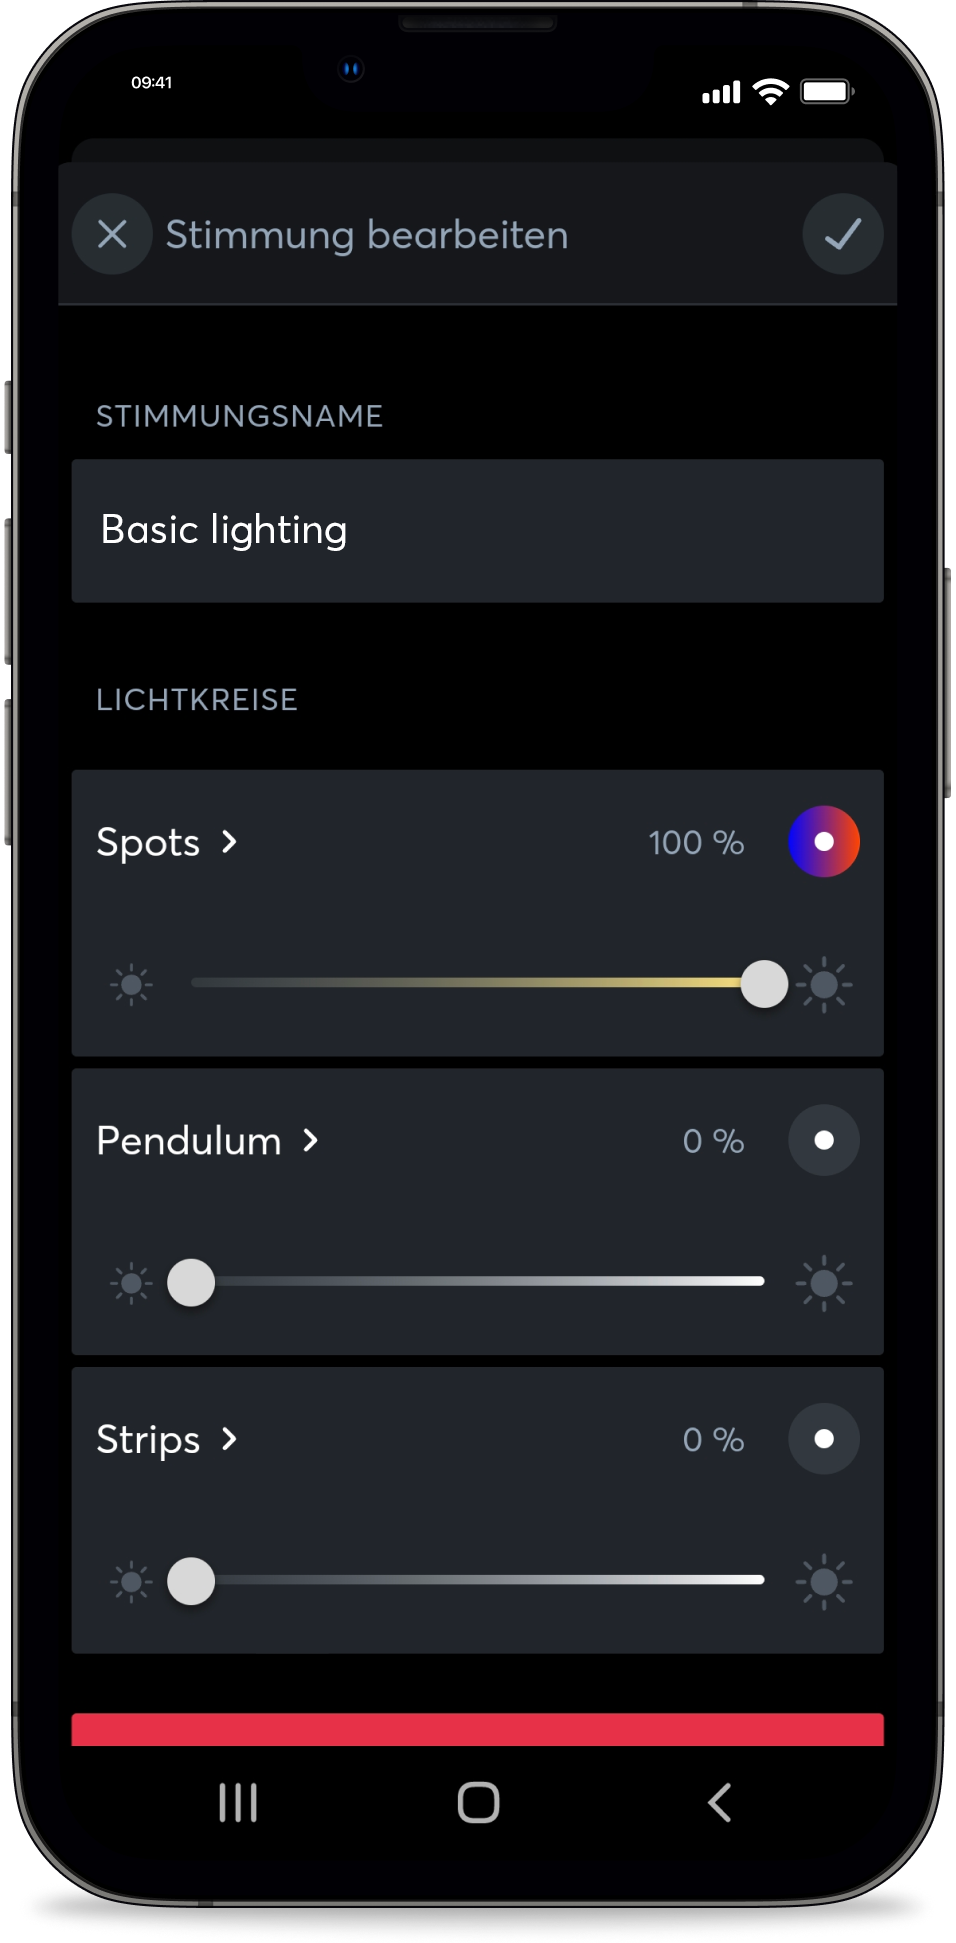
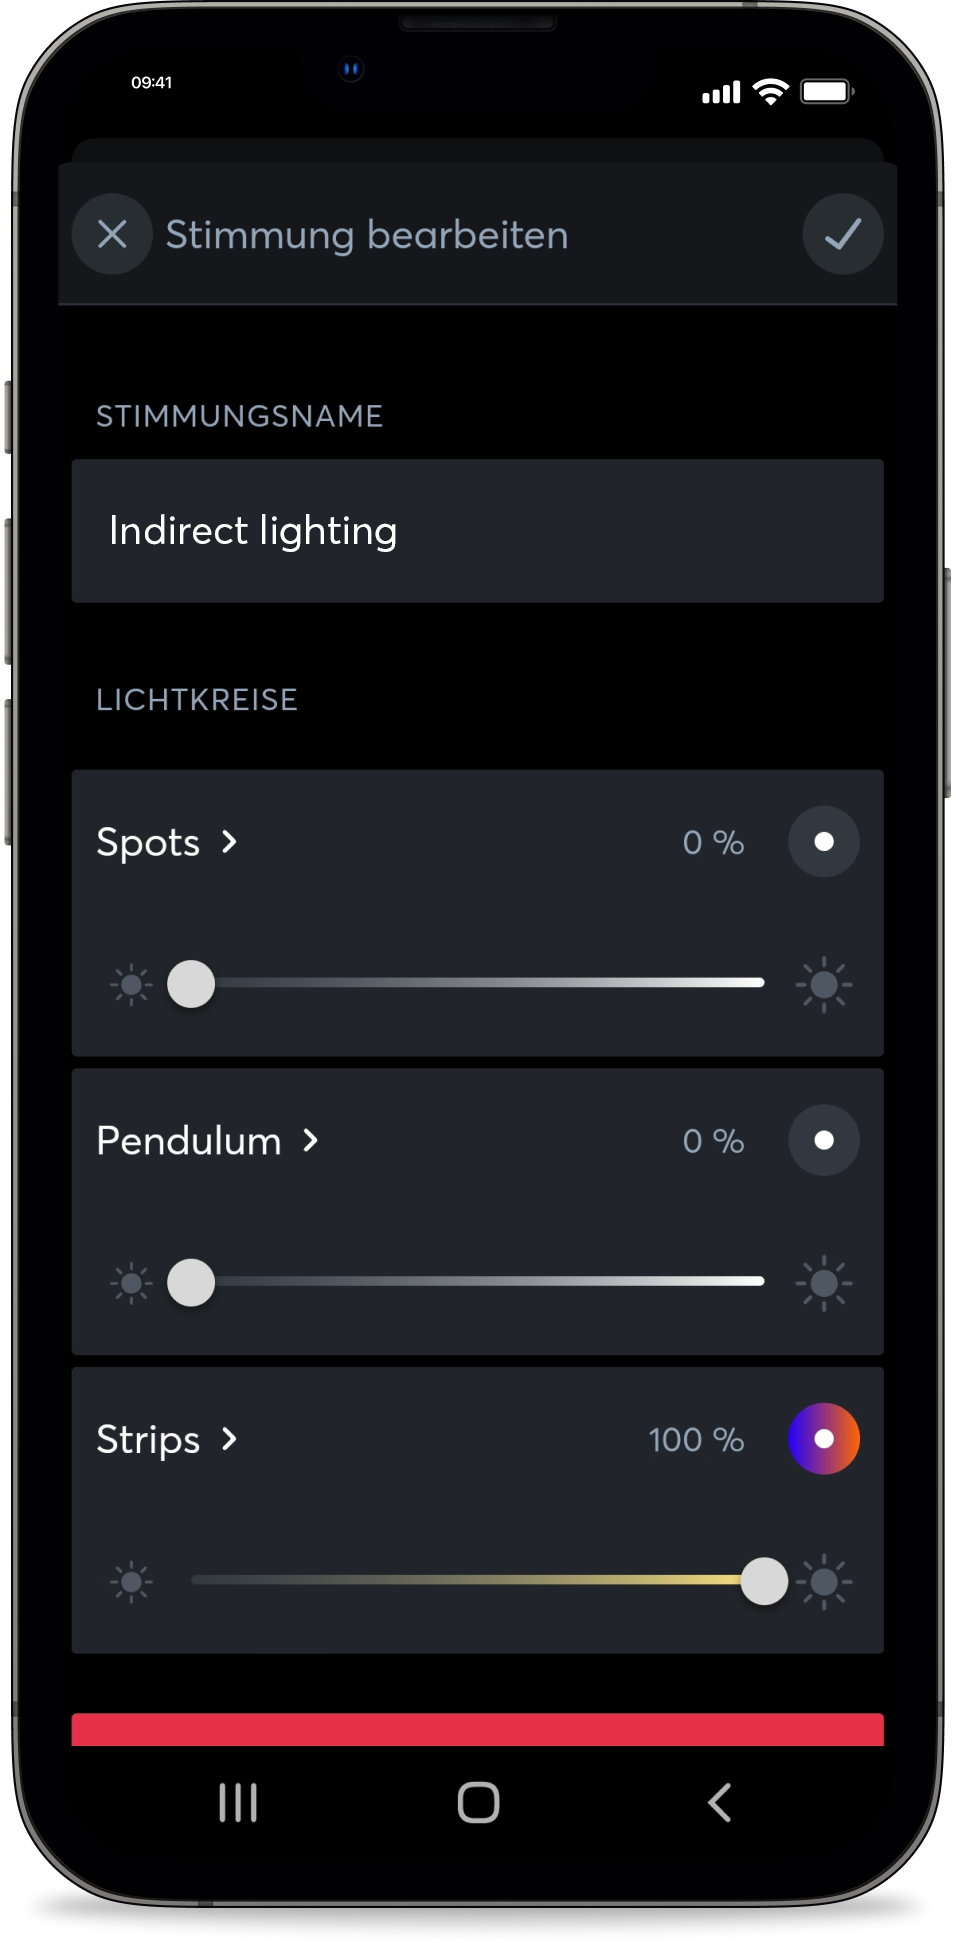
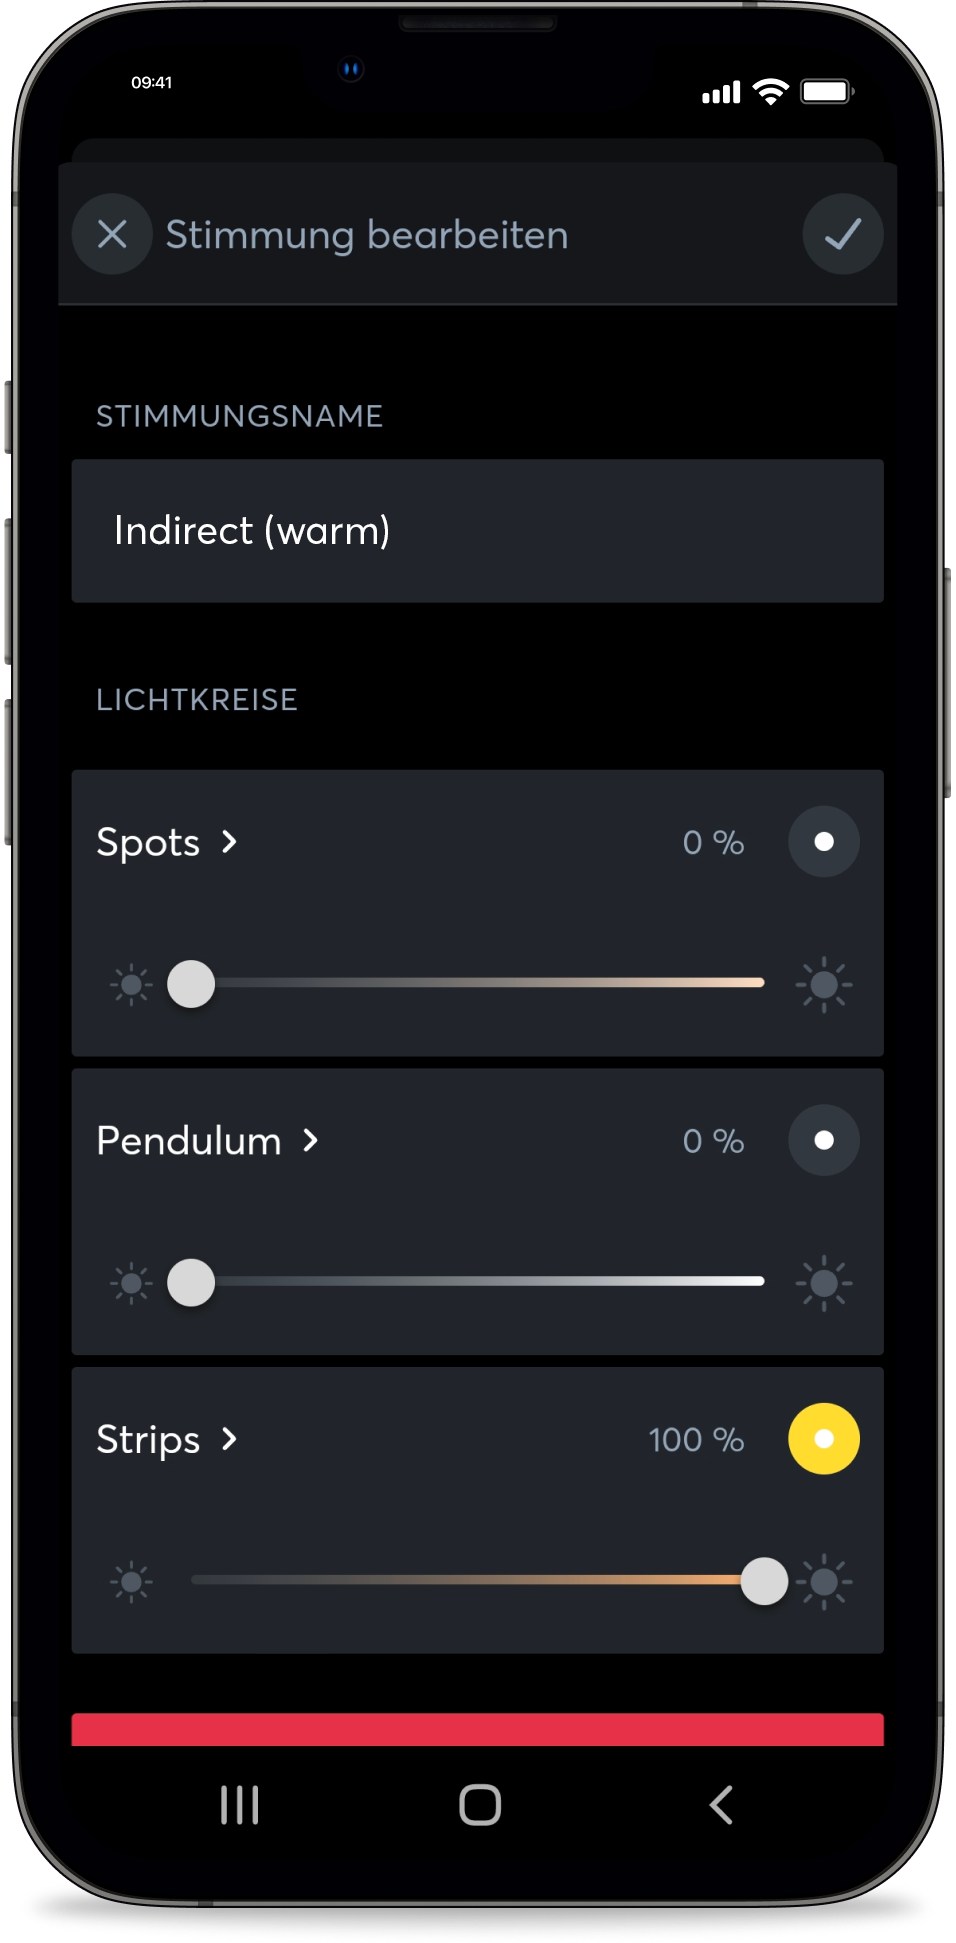
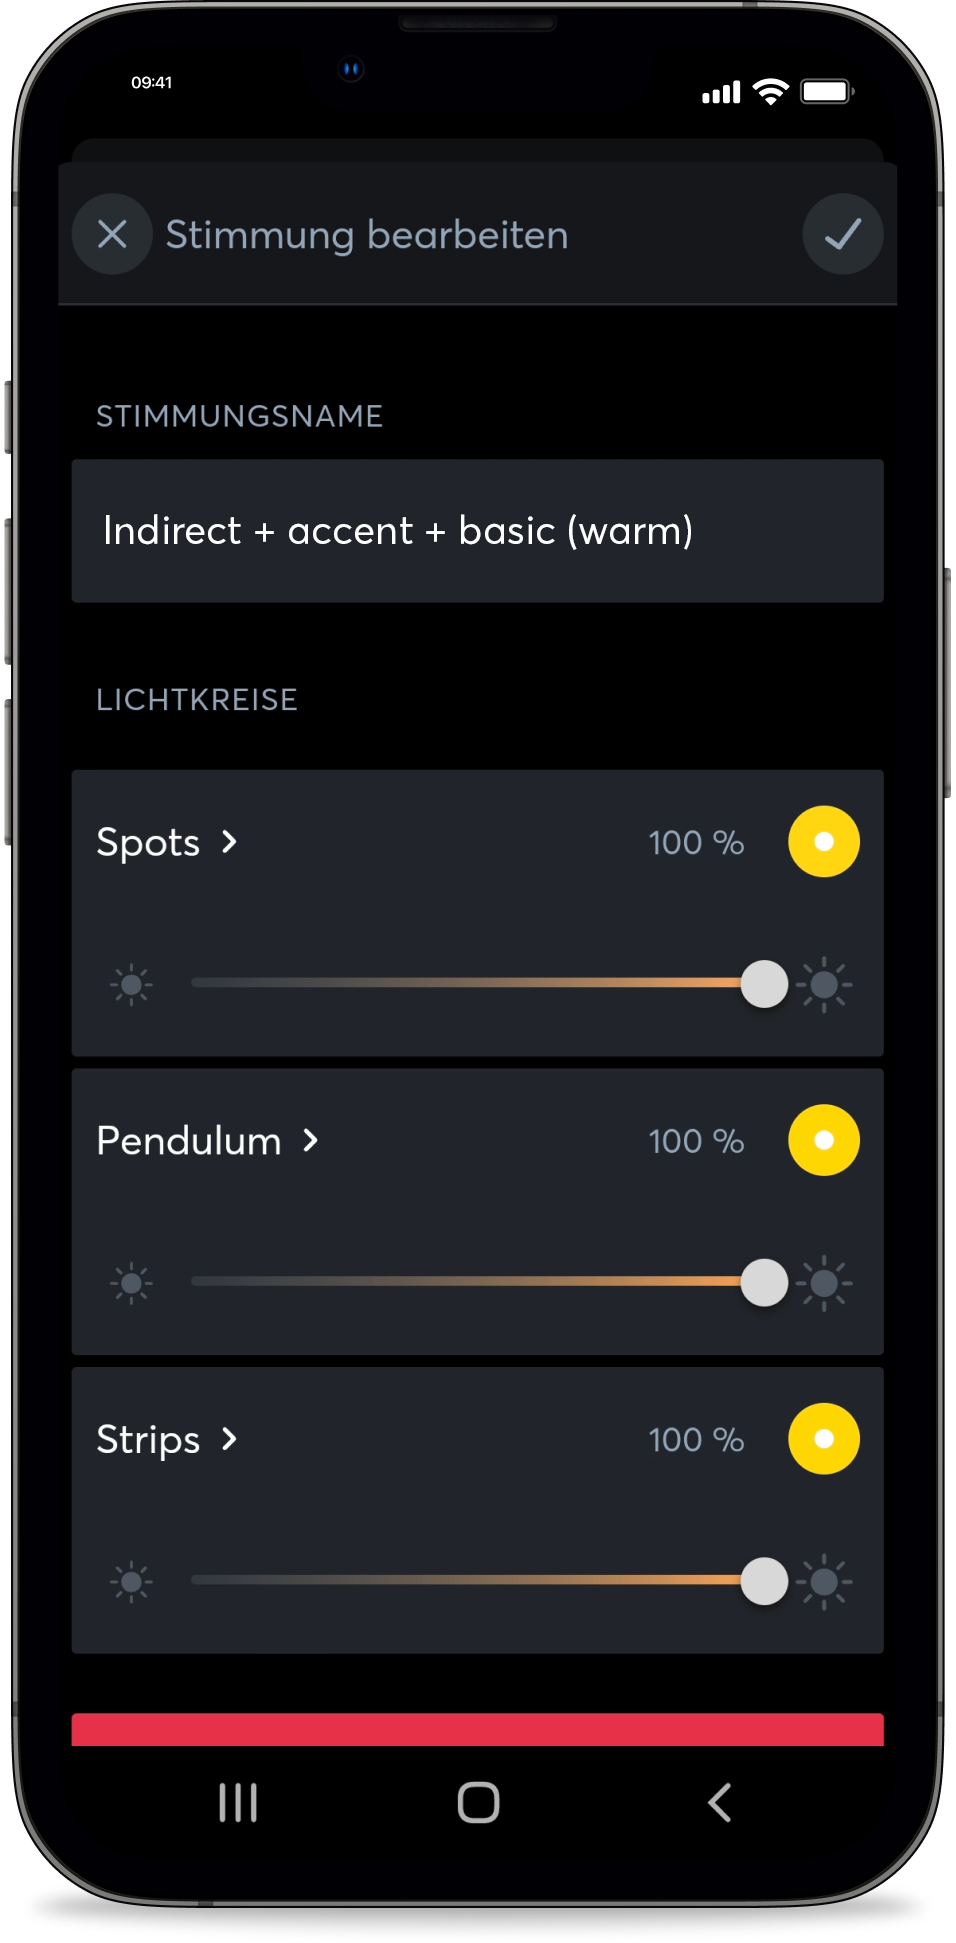
For the Digital Experience Tour, different lighting moods with different IDs must be created in the Loxone Config. The ID is required to ensure that the correct lighting mood is started. We recommend fine-tuning the lighting moods in the free Loxone App. Here, you will find an overview of all lighting moods.
*Note:* In order to create IDs starting at 70, it is necessary to create a total of 8 moods in Loxone Config beforehand in order to use IDs 1 – 8.
Basic Lighting (color change)
Indirect Lighting (color change)
Audio Setup
There are two options to play audio for the Digital Experience Tour:
- Playing the entire sound including the effect sounds (bell, alarm…) on the television
- Recommended: Playing the audio track of the video on the TV and the effect sounds on the Loxone Audioserver. Simply connect the virtual text input to the Audioplayer in Loxone Config.
Installing & Configuring the App
Simply search for “Loxone Digital Experience Tour” in the App Store and install the App. When you open the App for the first time, a step-by-step setup guide will launch. You can adjust all the configuration details in the Digital Experience Tour App settings after completing the setup guide.
Tipps & Tricks
Use the function test
Setting the correct screen saver times
There are two types of screensavers on your Fire TV device: the screensaver or timer off of the device itself, and the Digital Experience Tour App screensaver. You can set the start time for these in the settings (default: 120 seconds, so the screensaver starts after 120 seconds).
Set the Fire TV device screensaver later than the Digital Experience Tour App screensaver in the device’s main settings to see the Loxone reference images instead of the Fire TV-related images.
FAQs
Why am I getting a 401 or 403 error message?
If you get a 401 or 403 error message when using the App, it could mean that the user created in the configuration does not have enough rights to use these commands. Try again with additional rights.
Why am I getting a 404 error message?
If you get a 404 error message, it could mean that the IP address you entered in the settings is incorrect.
Why am I getting an IOException?
An IOException means the connection is not working properly. The problem could be:
- Your FireTV device has no internet connection
- Your FireTV device and your Miniserver are not on the same network
- Your port may not be set correctly
The Miniserver shows no reaction, I don't get an error message
In this case, it is very likely that something is wrong with the user’s information or with the user himself. Please check that you have entered the correct username and password and that the user has sufficient rights.
I've tried everything and it still doesn't work. What should I do?
Reboot your FireTV device. Or simply send the log file via the menu including your e-mail address.
